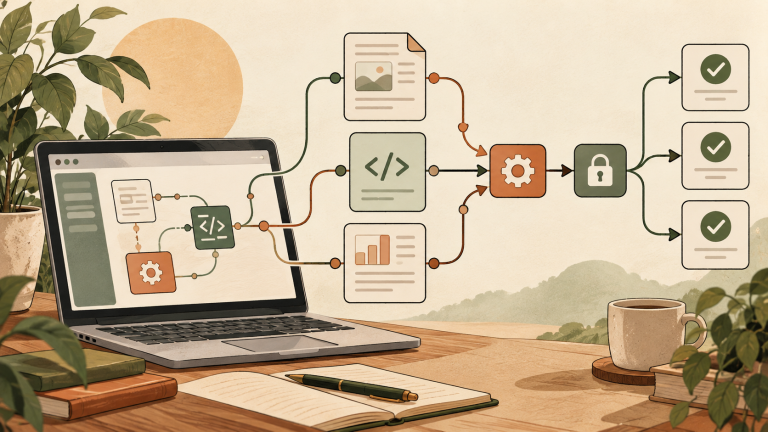
Adobe Firefly Quick Cut: Build a First Edit Faster
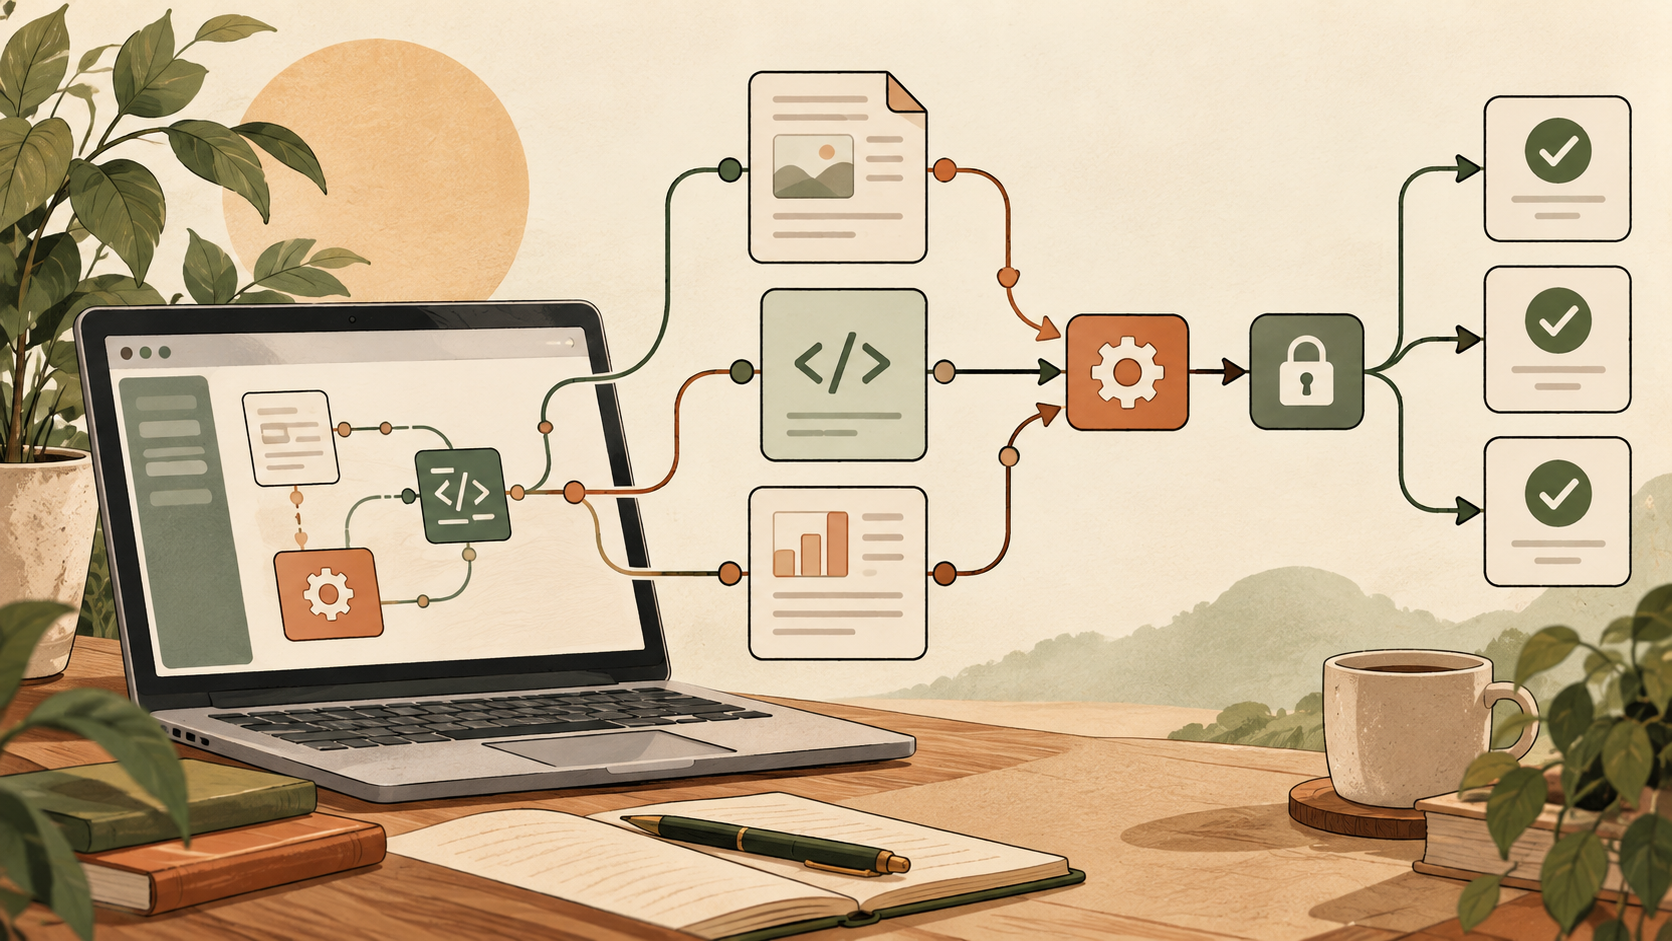
Quick answer: Quick Cut in the Adobe Firefly video editor (beta) uses your uploaded video, audio and images to assemble an editable first-draft timeline. Choose dialogue-driven or visual-only, select the media scope, describe the intended story, then review the generated structure before refining timing, transitions, transcript and sound.
Last verified: September 14, 2026.
What Firefly Quick Cut is—and is not
Quick Cut is a rough-cut assistant inside Adobe’s browser-based Firefly video editor. It can organize selected media into a preliminary sequence so a creator starts from a draft instead of an empty timeline. The result remains editable.
It is not a one-click final editor. It does not know which factual statement matters, whether a reaction shot is ethically appropriate, or whether the pacing matches a brand’s audience. Its best role is structural acceleration: assembling options that a human editor can evaluate and reshape.
What you need before starting
- A Firefly account with access to the Firefly video editor beta.
- Video, audio or image files ready to upload.
- A clear target format: short social video, interview cut, recap, product demo or another defined outcome.
- A short brief describing focus, exclusions and tone.
- Permission to use every uploaded asset.
Organize the source footage first. Remove obvious duplicates, separate approved assets from placeholders, and use searchable filenames. AI assembly becomes less useful when the input bin contains conflicting takes and unexplained versions.
How to create a Quick Cut
- Open Firefly and create or open a video-editor project.
- Upload the video, audio and image files you want to use.
- Open the Quick Cut panel from the editor.
- Select Dialogue-driven for interviews, conversations and reviews, or Visual-only for footage led mainly by images.
- Choose the media scope: current project, current timeline or current timeline selection.
- Describe the video you want in the prompt field.
- Generate the preliminary cut and open it in the timeline.
- Review every editorial decision before export.
Choose the right mode
| Mode | Use it for | Check carefully |
|---|---|---|
| Dialogue-driven | Interviews, explainers, reviews, conversations | Meaning, speaker continuity, removed context and jump cuts |
| Visual-only | Montages, travel clips, product visuals, mood pieces | Shot variety, continuity, repetition and visual hierarchy |
| Voice Cut | A voiceover that needs matching visuals | Whether selected images actually support each spoken claim |
A prompt structure that works
Adobe recommends writing the prompt like a brief to a real editor. Cover three questions:
- What are you making? Name the format, audience and approximate purpose.
- What should it focus on or skip? Identify the must-use moment, exclusions and unwanted repetition.
- How should it feel? Define pace, tone and emotional direction.
Example: “Create a concise product-demo first cut for new users. Open with the finished result, then show setup, the core action and the result comparison. Prioritize the clean screen recordings, exclude failed takes, and keep the tone calm and practical.”
Avoid vague prompts such as “make this exciting.” Exciting can mean faster cuts, louder music, more motion or a different story order. Define the observable editing choices you want.
Review the first draft in five passes
1. Story pass
Can a first-time viewer explain the setup, change and outcome? Move the payoff earlier when the opening spends too long on context.
2. Accuracy pass
Check every visual placed under a factual statement. A plausible B-roll shot can accidentally imply the wrong product, location, person or result.
3. Continuity pass
Look for repeated gestures, changing object positions, mismatched eyelines and abrupt lighting changes. AI can optimize local similarity without preserving the larger scene.
4. Pacing pass
Shorten dead space, but protect pauses that carry meaning. Dialogue should sound intentional rather than mechanically compressed.
5. Delivery pass
Confirm aspect ratio, resolution, captions, audio level and safe zones. Then inspect the exported file. Our video compression guide explains how to reduce delivery size without unnecessary quality loss.
Using Voice Cut
Adobe’s Voice Cut workflow builds an editable rough cut around an uploaded voiceover. Add the visual media to the project, upload the narration in the Voice Cut panel, provide optional visual direction, choose which media pool it may use and select an aspect ratio.
Describe what should be seen rather than repeating what the narration says. For example: “Use close product details, hands performing each step and one wide result shot; avoid generic office footage.” After generation, verify that each visual supports rather than contradicts the spoken message.
Where Quick Cut saves time
- Interview selects and first-pass structure.
- Event recaps built from a clearly labeled shot list.
- Product demonstrations with repeated setup/action/result stages.
- Social variants that need different pacing from the same approved source set.
- Voiceover-led explainers with a prepared visual library.
Where manual editing still matters most
- Legal, medical or financial statements where visual context changes meaning.
- Documentary material requiring careful chronology and consent.
- Comedy and dramatic timing.
- Brand work with precise typography, color and motion rules.
- Any edit where a subject’s identity or reputation is at stake.
For a broader decision framework, use our AI tool evaluation framework to score accuracy, time saved, total cost and privacy on your own repeated tasks.
Export checklist
- The opening communicates the result or tension quickly.
- Every included clip is licensed and approved.
- Dialogue edits preserve meaning.
- Captions match the final audio.
- Music and effects do not mask speech.
- The aspect ratio matches the destination.
- Text stays inside platform interface safe zones.
- The final file has been watched from beginning to end.
For vertical delivery, compare the final layout with our social media safe-zone guide.
FAQ
Is Firefly Quick Cut a finished video generator?
No. It assembles an editable preliminary cut from the media you provide. Expect to refine the story, timing, transcript, transitions and delivery settings.
Can Quick Cut use images as well as video?
Yes. Adobe says the workflow can use uploaded video, audio and images, depending on the project and selected mode.
What is the difference between Quick Cut and Voice Cut?
Quick Cut assembles a draft around a general story brief and selected media. Voice Cut starts from an uploaded voiceover and selects available visuals to accompany it.
Is the Firefly video editor installed software?
Adobe describes it as a browser-based editor in beta. Feature access and limits can change, so check the current Firefly account interface.
References
- Adobe Blog: Putting ideas in motion with Firefly Quick Cut
- Adobe Help: Create video quick cuts
- Adobe Help: Writing effective prompts for Quick Cut
- Adobe Help: Create a Voice Cut
From the publisher: how I would decide
I would treat Quick Cut as a way to find a starting structure, while keeping the meaning of the footage under my control. For an interview, I would inspect the sentences around every removed passage before worrying about transitions. For a product montage, I would check whether the sequence suggests a feature or result the footage does not establish. A draft that needs a different story can still be useful, but I would measure its value against the time needed to repair that structure, not the speed of the first generation.